


-
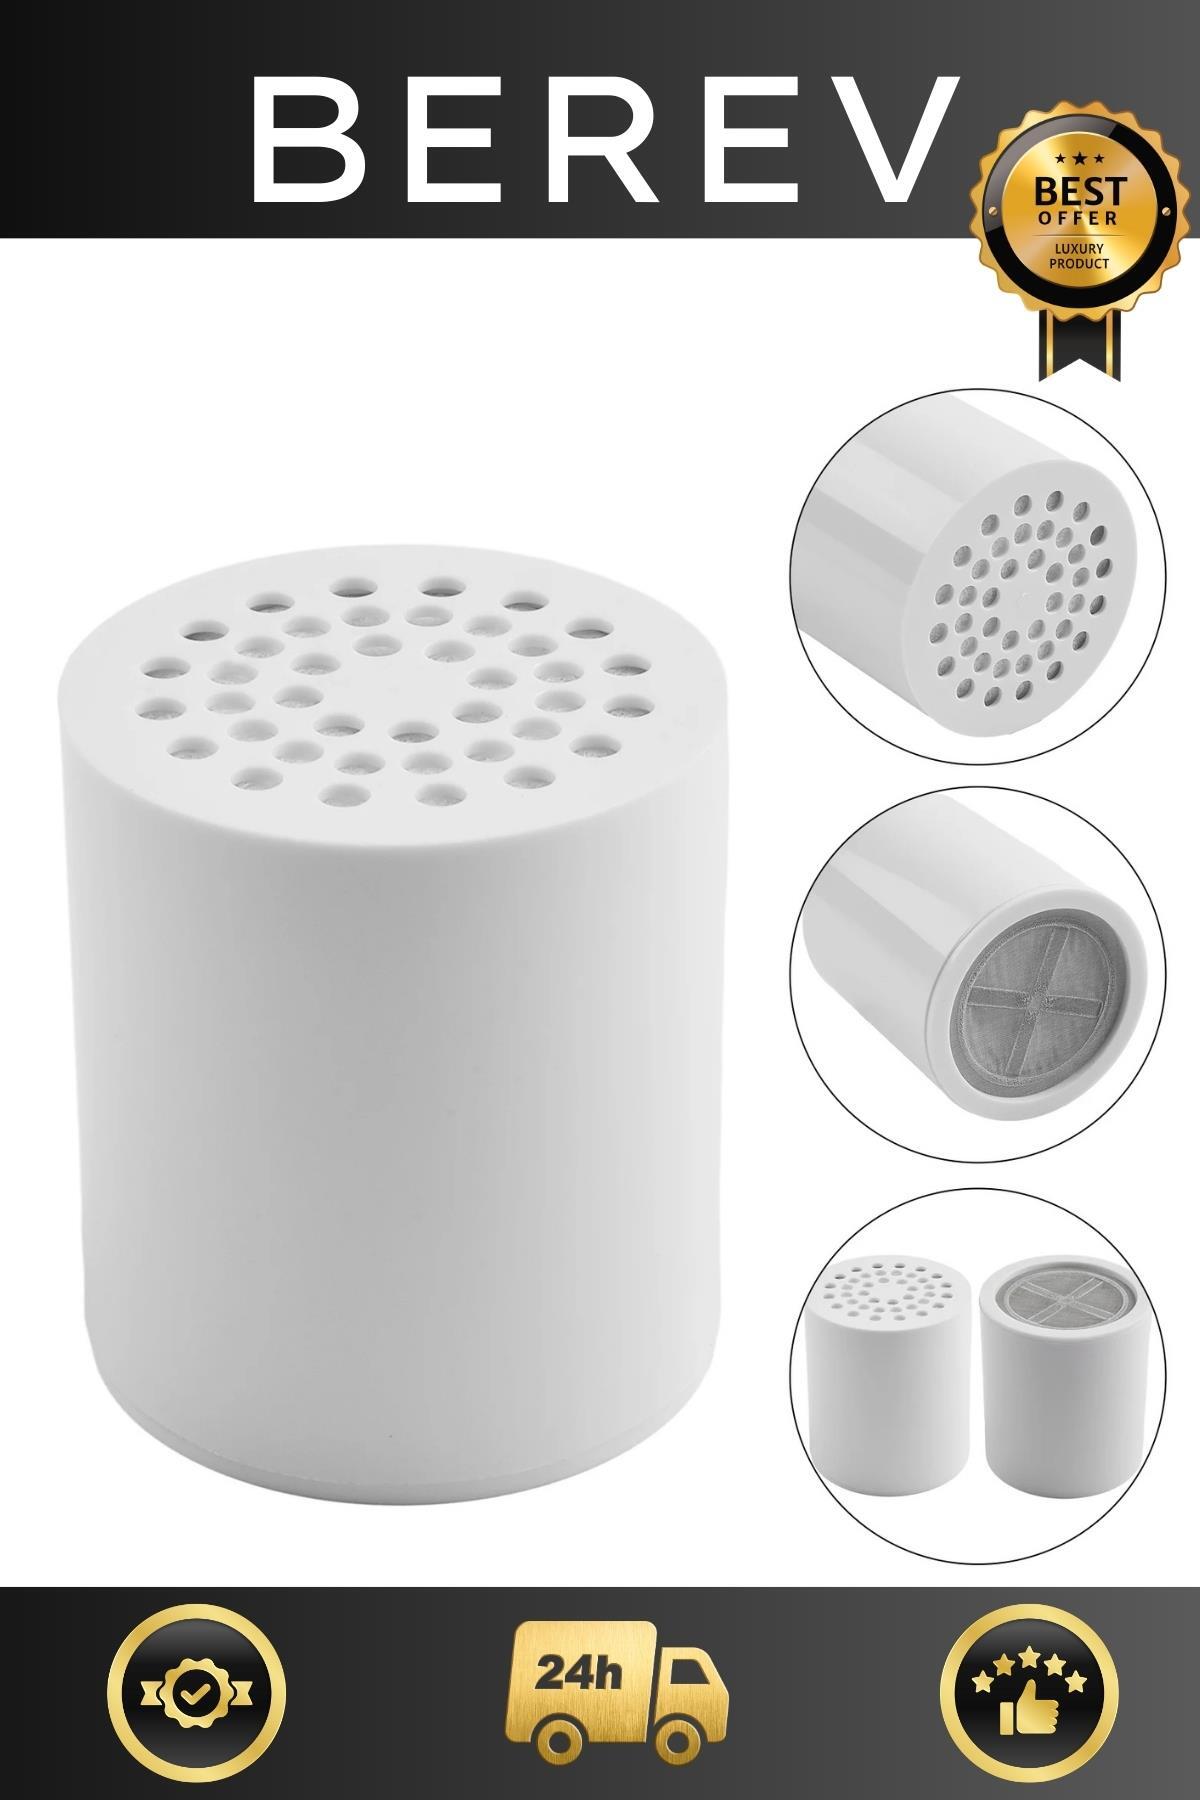
Why Choose This Filter? 20-Layer Ultimate Protection: Unlike standard filters on the market, 20 different layers (KDF-55, calcium sulfide, activated carbon, ceramic balls, etc.
-
) purifies the water at the deepest level.
-
Vitamin Supplement (C&E): It not only cleans the water, but also enriches it with vitamins C and E.
-
In this way, your skin does not dry out and your hair regains its natural shine.
-
Immunity and Oxygen Support: By giving oxygen saturation to water, it helps your skin breathe and supports your body resistance.
-
Farewell to Foul Smells: Completely eliminates that "strange" metallic or intense chlorine smell in the water, leaving you with a spacious bathing experience.
-
Considerations During Installation 1. Preparation Phase Close Valve: Make sure the shower faucet is turned off before starting installation.
-
Surface Cleaning: When you disassemble your existing shower hose or head, remove any old lime or rust residue from the threaded parts with a cloth.
-
- Use of Sealing Tape (Teflon Tape) Most Important Step: Wrap the white Teflon tape coming out of the package on the screw threads at both ends of the filter 5-6 turns clockwise.
-
This prevents 100% water leakage.
-
Do not forget the gaskets: Make sure that the black rubber gaskets are in place at both inlets of the filter.
-
- Ports Direction Control: Pay attention to the direction of flow above the filter.
-
The upper part (female inlet) is attached to the faucet or pipe, and the lower part (male outlet) is attached to the shower hose.
-
Hand Tighten: You do not need to use wrenches or pliers when installing the filter and hose.
-
You just need to squeeze it well with your hand.
-
Excessive tightening with the tool may damage plastic or metal teeth.
-
- First Use: "Black Water" Drain (Critical!) Activated Carbon Cleaning: When you first turn on the water after installing the filter, a dark/gray water may flow for about 15-30 seconds.
-
This is completely normal and is caused by activated carbon dust inside the filter.
-
Continue to drain until the water is completely clear.
-
When the water becomes transparent, your filter is ready to use.
-
- Final Inspection Turn off the water and check the connection points for leaks.
-
If there is a leak, repeat the process by removing the connection and wrapping the teflon tape a little thicker.
•
•
•
•
•
•
•
•
•
•

favorite
account_circle
shopping_bag
Cart Catalogue
